
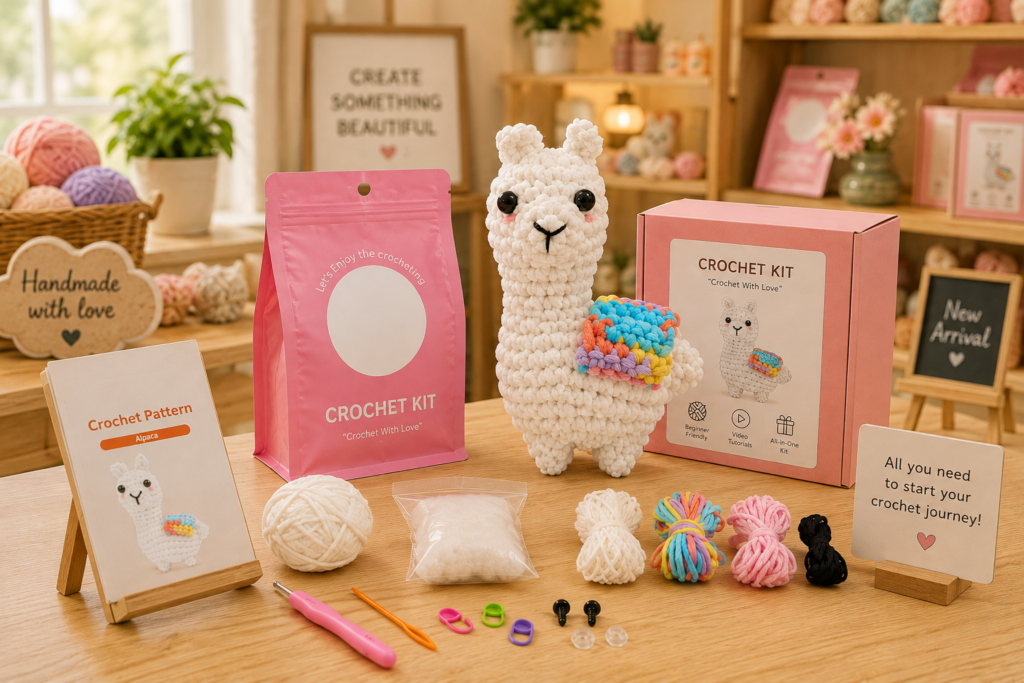
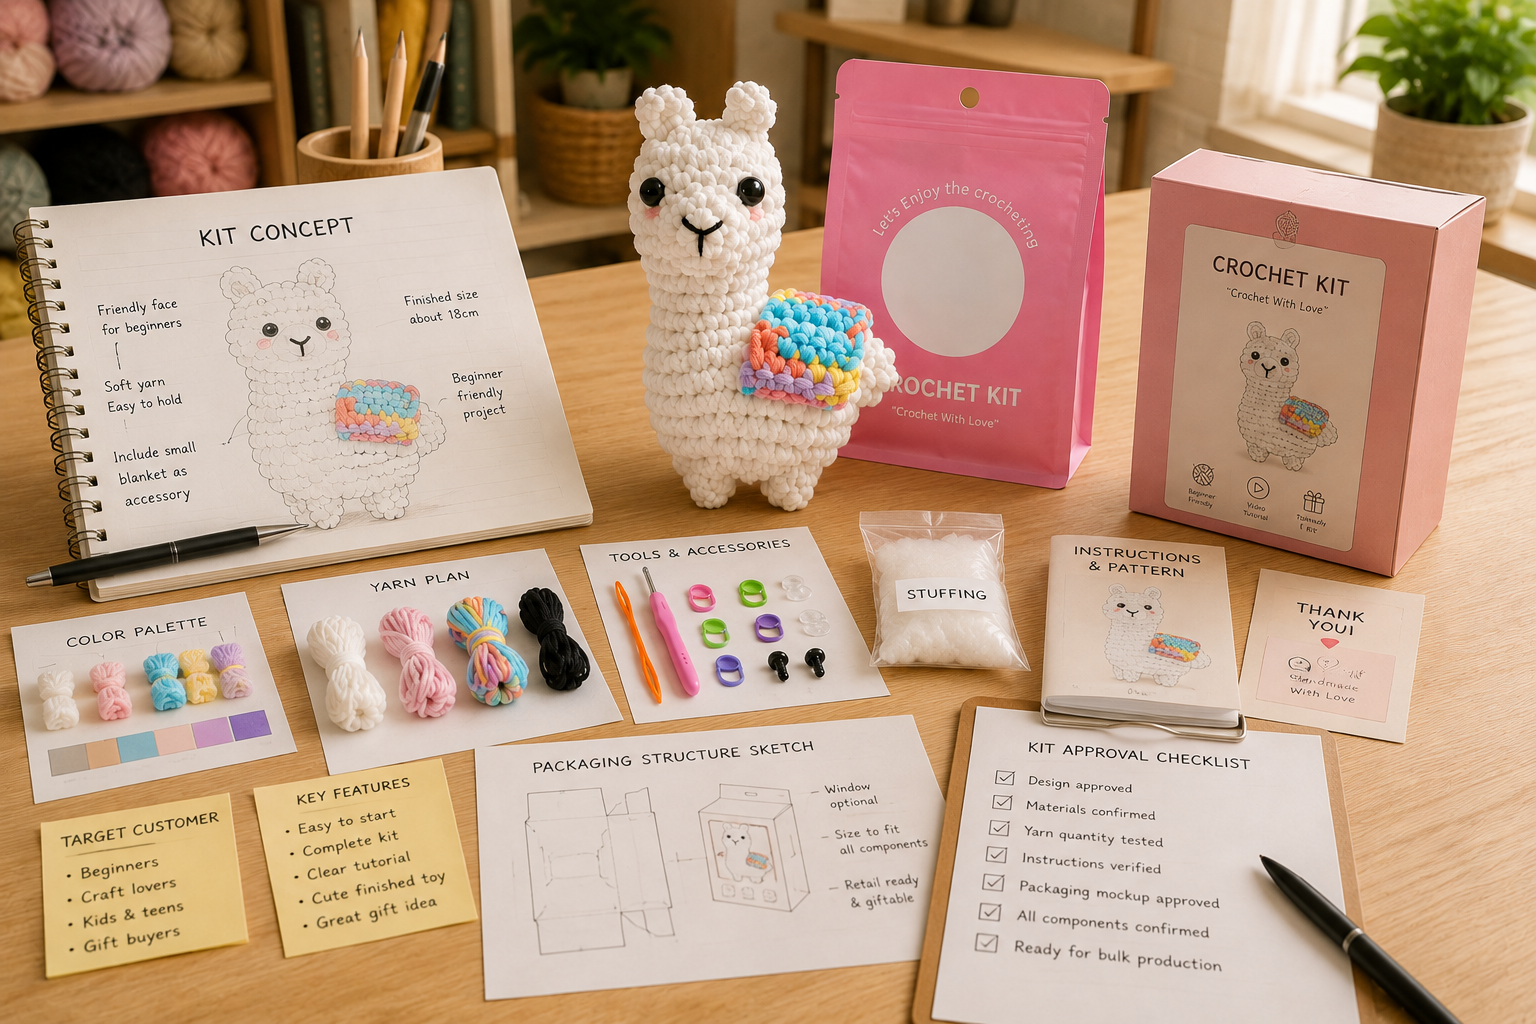
A successful private-label crochet kit is not simply a box containing yarn and a crochet hook. It is a complete product system in which the finished design, yarn quantity, hook size, stuffing or accessories, instructions, packaging, labeling, and user difficulty all work together.
For brands developing a custom crochet kit, the most practical process is to start with the finished result and target user, validate the making experience through a complete sample, and only then finalize materials, instructions, packaging, and production specifications.
A retail-ready crochet kit should answer five questions before bulk production begins:
- What exactly will the customer make?
- Who is the kit designed for?
- Does the box contain everything reasonably required for that project?
- Can the customer understand how to complete it?
- Can every component be packed consistently at commercial scale?
For brands, retailers, and craft businesses, this means crochet kit development is both a product-development project and a packaging-and-user-experience project.
What Is a Private-Label Crochet Kit?
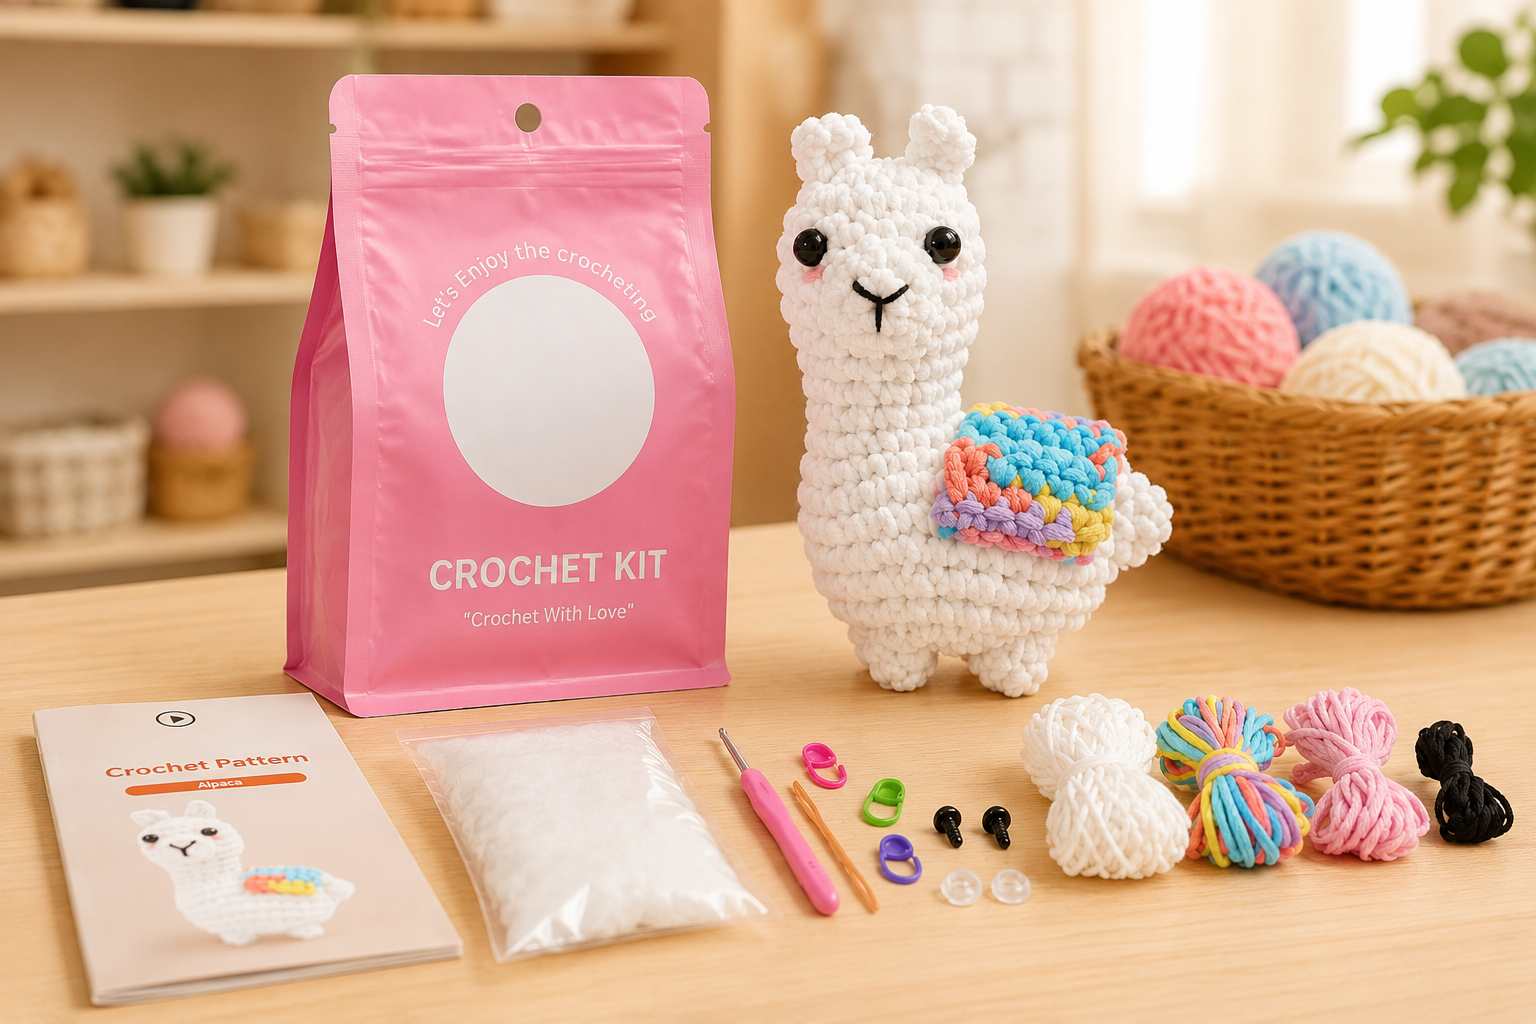
A private-label crochet kit is a packaged craft product developed for sale under a brand's own identity.
Depending on the project, it may include:
- A finished sample showing the expected result
- Yarn in specified colors and quantities
- One or more crochet hooks
- Stuffing
- Needles or other assembly tools
- Stitch markers
- Eyes or other approved components where appropriate
- Printed instructions
- Digital tutorial access
- Branded cards or inserts
- Inner bags or component organizers
- A retail box, pouch, or other outer packaging
The exact combination should follow the project rather than a universal checklist.
A small beginner amigurumi kit may need a very different component structure from a flower kit, bag kit, decorative project, or character-based kit.
That is why brands should avoid starting with the question:
"What can we put in the box?"
A better starting point is:
"What experience and finished result are we asking the customer to achieve?"
Once that is clear, the components can be engineered around it.
Step 1: Define the Finished Product Before Building the Kit
The finished sample is the anchor for the entire kit.
Before calculating yarn, choosing packaging, or writing instructions, define:
- Product type
- Approximate finished size
- Shape and proportions
- Color palette
- Difficulty level
- Required crochet techniques
- Number of components
- Assembly method
- Decorative details
- Intended user
- Target retail positioning
For an amigurumi character, for example, the development team may need to establish:
- Head-to-body proportion
- Limb construction
- Facial details
- Clothing or accessories
- Color changes
- Sewing points
- Filling amount
Why This Matters to Buyers
A kit should not be designed as several independent components that happen to be packed together.
The finished product determines the bill of materials.
The bill of materials determines the package.
And all three affect the customer experience.
This is one reason a technically approved finished sample should come before final packaging approval.
[Internal Link Opportunity: How to Turn a Sketch Into a Crochet Product]
Step 2: Define the Target Skill Level
"Beginner-friendly" should be treated as a design requirement, not merely a marketing phrase.
A project intended for a first-time crocheter usually needs different decisions from one intended for an experienced maker.
Buyers should define whether the kit is intended for:
- First-time beginners
- Beginners with basic stitch knowledge
- Intermediate makers
- Experienced hobbyists
That decision affects the complete development specification.
For example, difficulty may be influenced by:
- Number of stitch types
- Frequency of color changes
- Very small components
- Complex shaping
- Assembly requirements
- Embroidery
- Sewing multiple pieces together
- Instruction length
- Need for special tools
A Practical Beginner-Kit Principle
For an entry-level kit, simplify the making process before simplifying the packaging.
An attractive box cannot compensate for a project that is unnecessarily difficult for its intended customer.
Where possible, product developers can reduce friction by:
- Limiting unnecessary color changes
- Avoiding extremely small pieces
- Making component differences visually clear
- Providing enough yarn rather than calculating to an unrealistically tight margin
- Organizing materials in the order customers will use them
- Making assembly points easy to understand
The goal is not necessarily to create the simplest crochet object possible.
The goal is to align the project difficulty with the promise made on the package.
Step 3: Build the Bill of Materials Around the Approved Design
Once the project structure is stable, the manufacturer can begin defining the kit components.
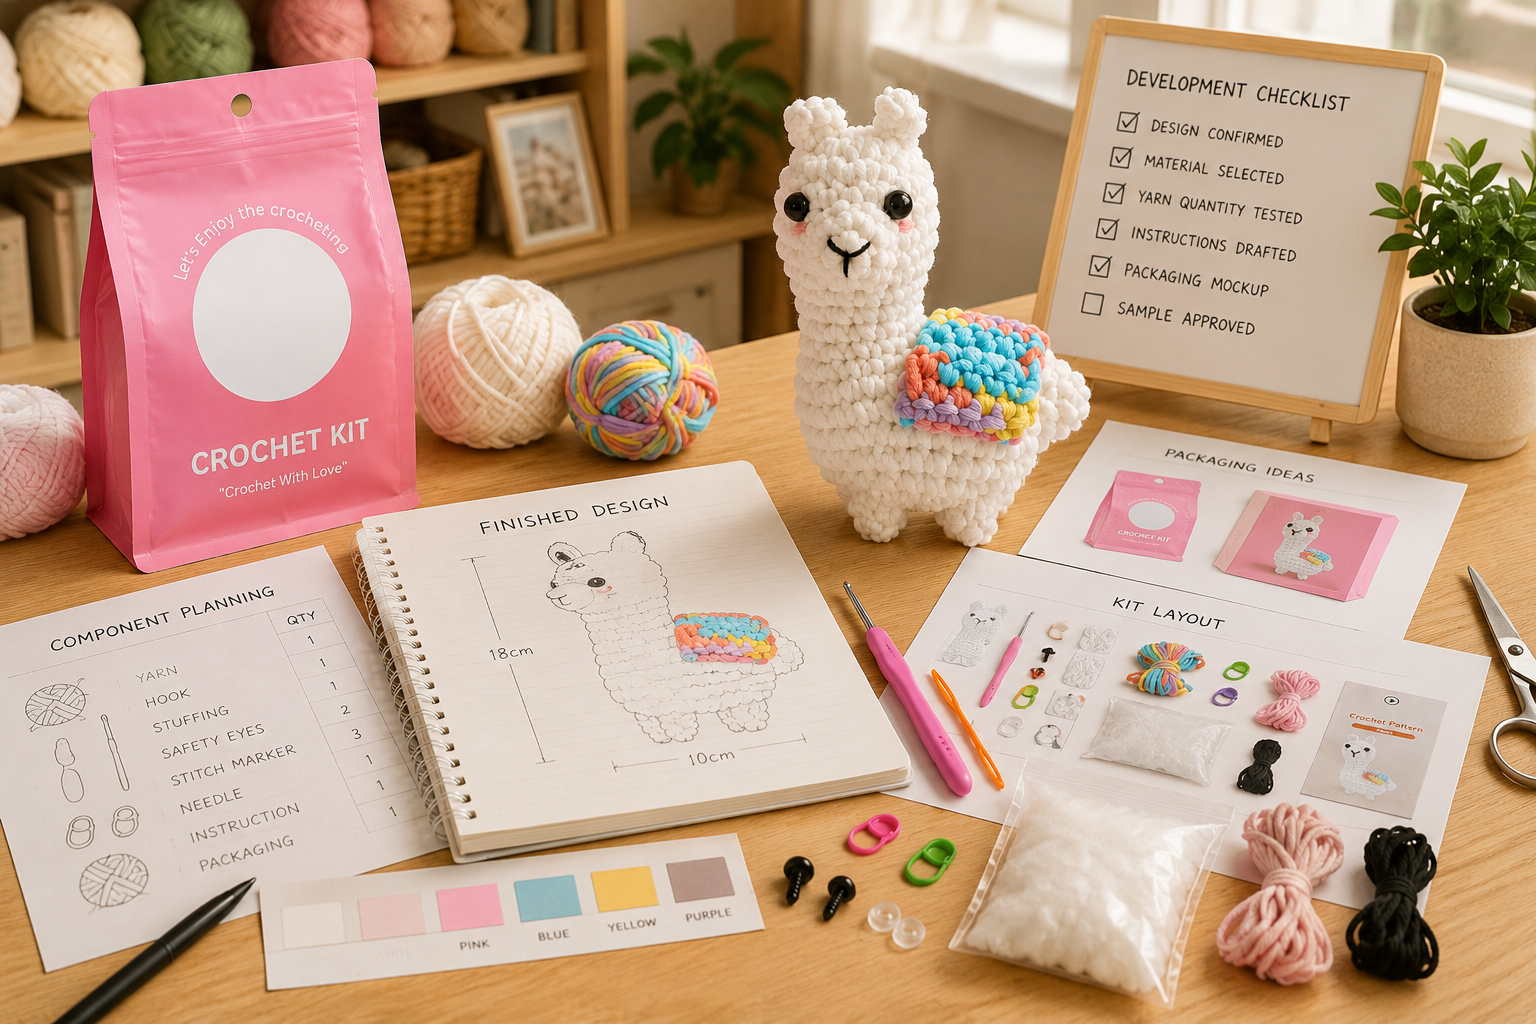
A typical bill of materials may cover the following:
| Component | Buyer Decision |
|---|---|
| Yarn | Fiber, color, thickness, quantity and color matching |
| Crochet hook | Size suitable for the selected yarn and project |
| Stuffing | Required quantity and packing method |
| Sewing needle | Whether assembly requires one |
| Stitch markers | Whether useful for the selected pattern |
| Decorative components | Type, quantity and attachment method |
| Instructions | Printed, digital, or combined format |
| Inner packaging | How individual materials are organized |
| Outer packaging | Box, pouch, sleeve or other retail format |
| Branding | Labels, cards, printed inserts and private-label elements |
Every component adds another variable to production.
This means a kit with ten small components is not necessarily easier to manufacture than a single finished crochet doll.
The assembly team must make sure the correct parts, colors, quantities, and printed materials enter every unit.
Step 4: Test Yarn Quantity With Real Making Samples
Yarn quantity is one of the most important practical details in a crochet kit.
An estimate based only on theoretical weight can create problems because actual consumption can vary with:
- Stitch tension
- Project structure
- Yarn thickness
- Color changes
- Sewing requirements
- Finishing details
A practical development process is to make the project from the proposed kit allocation and confirm that the supplied amount is appropriate.
Buyers should consider a reasonable working allowance rather than designing the kit around the absolute minimum amount used by one highly experienced sample maker.
This is particularly important for beginner products because first-time makers may use yarn differently from experienced crocheters.
Color Consistency Also Matters
For branded kits, yarn is part of the product identity.
When a collection includes several designs, buyers may want consistent:
- Brand colors
- Character colors
- Seasonal palettes
- Collection palettes
Approved yarn references should therefore become part of the production specification.
If a yarn needs to be replaced later, the change should be evaluated rather than treated as a purely purchasing decision.
Different yarns can change:
- Appearance
- Hand feel
- Stitch definition
- Finished dimensions
- Customer experience
Step 5: Develop the Finished Sample and the Making Sample Together
For an ordinary finished crochet product, the buyer mainly evaluates the object.
For a crochet kit, there are actually two products to evaluate:
Product 1: the finished result
and
Product 2: the process the customer follows to create it.
Both should work.
During development, brands should test:
- Whether the finished product matches the intended appearance
- Whether the supplied components are complete
- Whether yarn allocation is practical
- Whether the chosen hook and tools work with the materials
- Whether the documented process matches the physical sample
- Whether another person can reproduce the intended result
This second validation is especially important when the kit will be sold to beginners.
Step 6: Build Instructions Around the Actual Production Sample
Instructions should not be developed separately from the physical kit.
If the pattern changes during sampling, the instructions may also need to change.
The final tutorial system should reflect:
- Approved yarn colors
- Actual piece count
- Actual stitch sequence
- Assembly order
- Decorative details
- Finished proportions
Depending on the brand's product model, instruction formats can include:
- Printed step-by-step cards
- Booklets
- Diagrams
- Digital guides
- Video tutorials
- QR-linked digital content
A QR code itself is only an access method.
The real value comes from the quality and continuity of the tutorial behind it.
Brands using digital tutorials should therefore also consider:
- Who hosts the content
- Whether the destination link will remain active
- Whether packaging changes require link updates
- Whether language versions are required
- Who approves the final tutorial before production
Avoid One Common Mistake
Do not print large quantities of packaging before the product and tutorial are stable.
A late change to yarn color, part count, hook size, or instructions can make previously printed information inaccurate.
For this reason, packaging artwork is often best finalized after the core kit specification has been approved.
Step 7: Treat Packaging as Part of the Product
For a private-label crochet kit, packaging has several jobs.
It must:
- Contain the components
- Protect them during transport
- Organize the materials
- Communicate the finished result
- Explain what is included
- Support brand identity
- Fit the intended retail channel
Important Packaging Questions
Before choosing the box, buyers should ask:
- Should customers see the yarn before opening?
- Is the finished project shown clearly?
- Does the package explain the skill level?
- Is the component list easy to understand?
- Is the package unnecessarily large compared with the materials?
- Will inner components remain organized during shipping?
- Does the structure work for shelf display? * Where will labels and required information be placed?
Packaging development should therefore be coordinated with both product and logistics planning.
Step 8: Design the Kit for Assembly Consistency
Bulk kit production creates a different quality-control challenge from finished-product production.
The main risk is not only whether the crochet item looks correct.
It is whether every kit contains the correct combination of parts.
A kit assembly specification may identify:
- Yarn color A — quantity
- Yarn color B — quantity
- Hook — size
- Stuffing — quantity
- Needle — quantity
- Accessories — quantity
- Instruction booklet — version
- Brand card — version
- Inner bag configuration
- Outer packaging version
Where several kits belong to the same collection, clear SKU separation becomes especially important.
Two products may use similar yarn colors but different:
- Hooks
- Patterns
- accessories
- quantities
- printed materials
Step 9: Review the Complete Kit, Not Only Individual Components
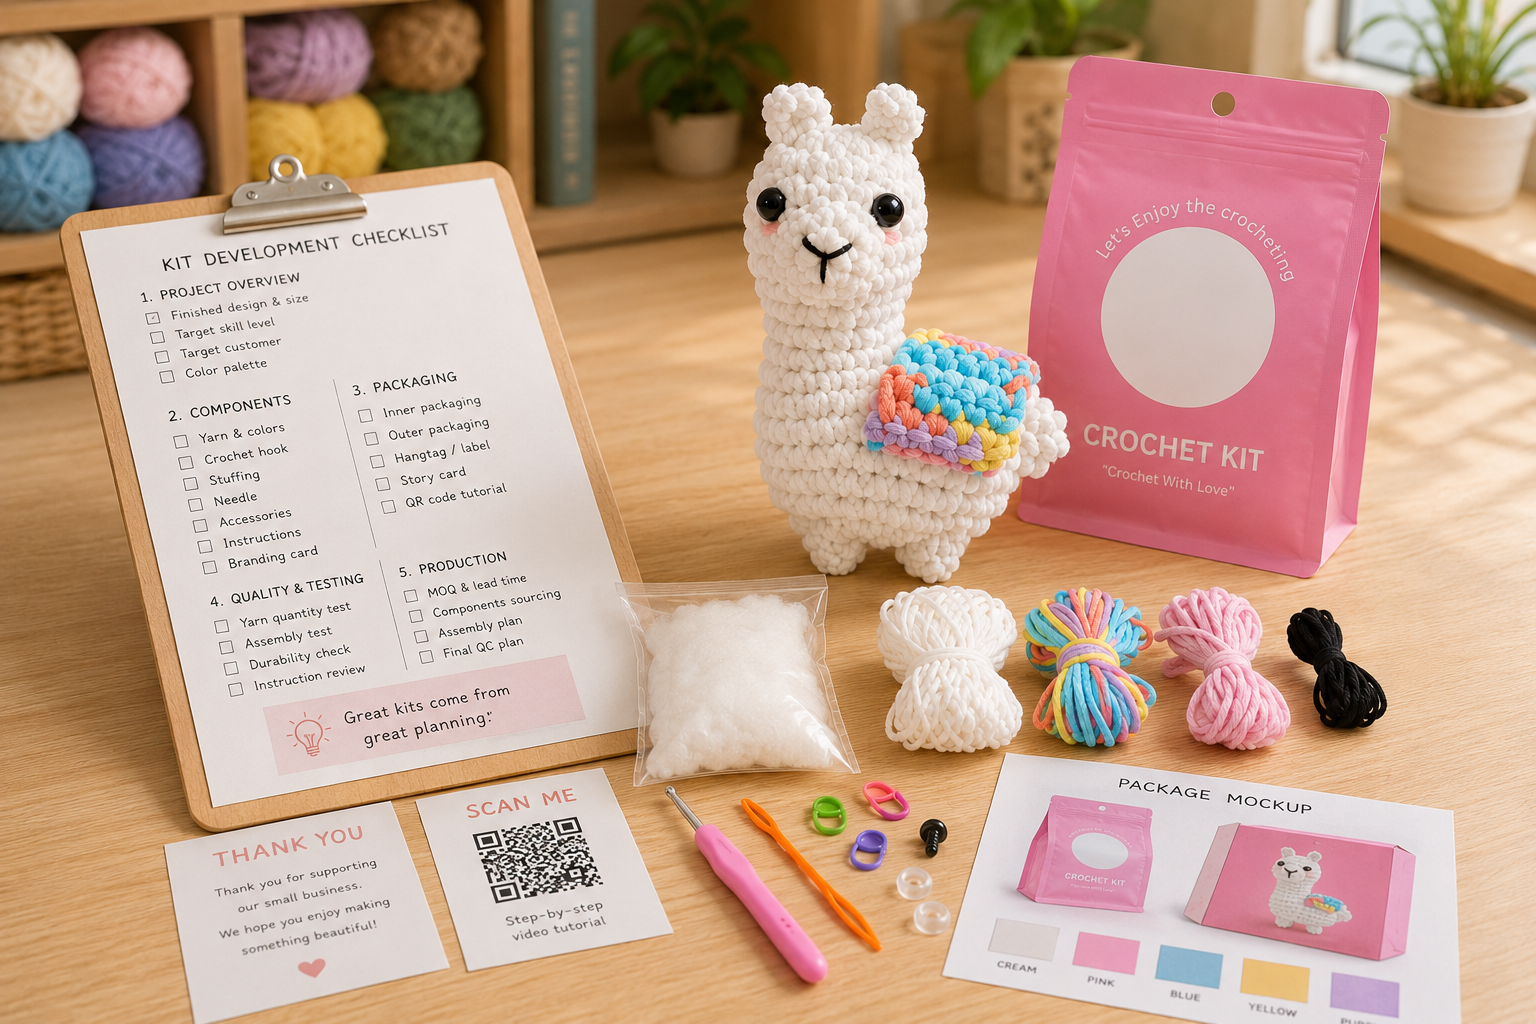
Before bulk production, buyers should evaluate an assembled kit as a customer would receive it.
Review:
Finished Result
Does the sample accurately represent what the customer is expected to make?
Component Completeness
Is everything required by the approved specification included?
Material Identification
Can users distinguish the different yarn colors and components?
Instructions
Do the printed or digital instructions correspond exactly to the physical contents?
Packaging
Does the pack remain organized and presentable after normal handling?
Branding
Are labels, cards and artwork using the correct approved versions?
Retail Communication
Can a customer quickly understand:
- What the kit makes
- What is included
- The intended skill level
- What additional items, if any, are required
This "complete-kit review" is one of the most useful checkpoints before mass assembly begins.
Step 10: Understand That Kit MOQ Is a Multi-Component Question
Buyers often ask for one MOQ number.
For a private-label kit, the real answer can depend on several connected elements.
The crochet component may have one production condition, while the printed box, custom insert, accessory, or other packaging element may have another.
Custom handmade crochet products at UMY are normally quoted around 500 pieces per design, while some simpler and production-suitable designs may be evaluated from approximately 300 pieces per design.
However, this does not automatically mean every private-label kit can be produced at exactly the same quantity.
Kit feasibility may also depend on:
- Packaging configuration
- Custom printing
- Number of yarn colors
- Special accessories
- Component suppliers
- Number of SKUs
- How much customization is required
Buyers should therefore request an MOQ based on the complete approved kit specification, not only the crochet item.
Step 11: Allow Sampling Time for Both Product and Kit Refinement
UMY has been involved in product development and manufacturing since 2013.
For custom crochet projects, sampling typically takes around 7–15 days, depending on design complexity, material availability, accessories, revisions, and current project scheduling.
For a complete crochet kit, development may require several approval layers:
- Finished crochet sample
- Material allocation
- Tool and accessory selection
- Making verification
- Instruction alignment
- Packaging mock-up
- Final complete-kit confirmation
Not all of these stages necessarily happen sequentially.
Some can proceed in parallel once the basic design is stable.
Step 12: Think in Collections, Not Only Single Kits
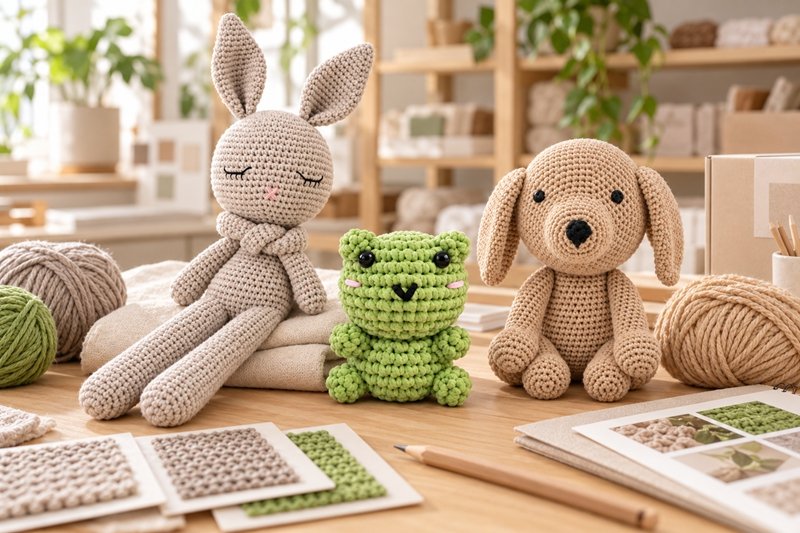
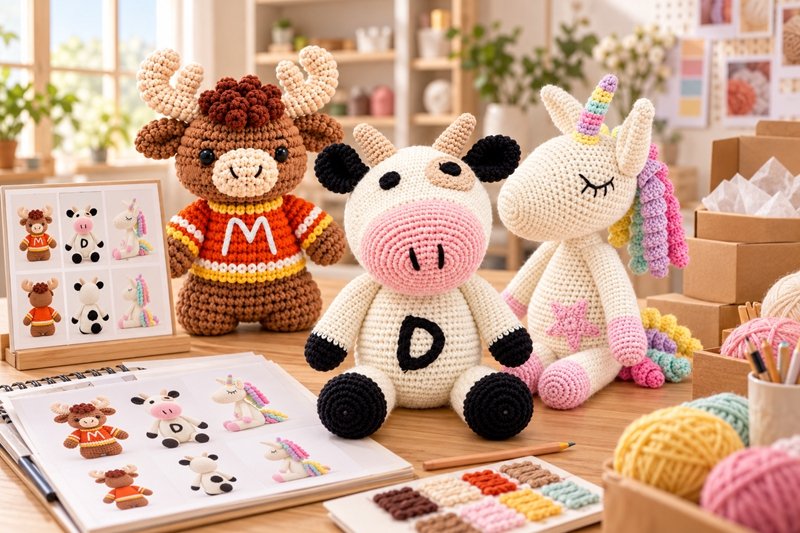
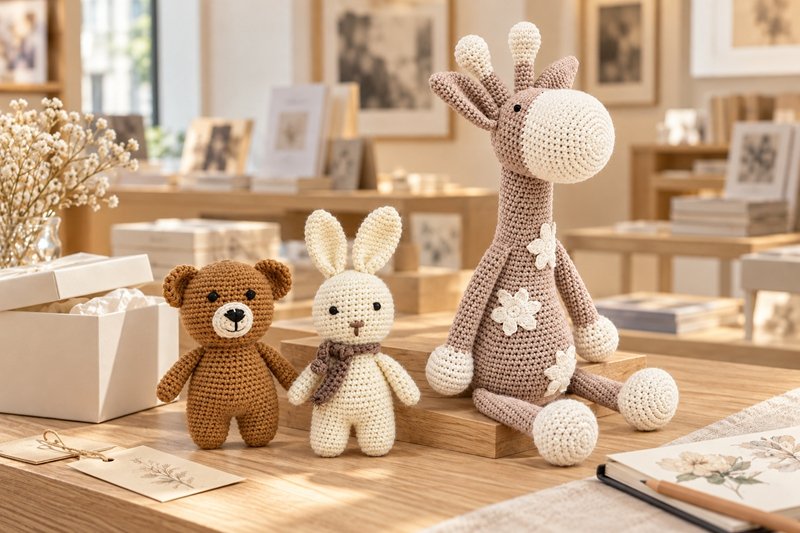
Once the first kit architecture is working, brands can use it as a platform for future products.
For example, one successful kit format may expand into:
- Different characters
- Seasonal designs
- Flowers
- Giftable mini projects
- Beginner series
- Intermediate series
- Licensed or authorized character collections
- Multi-kit bundles
This can create efficiencies in:
- Package dimensions
- Tutorial structure
- Component sourcing
- Display systems
- Brand communication
A Buyer Checklist Before Requesting a Crochet Kit Quotation
The clearer the initial brief, the easier it is for a manufacturer to evaluate the project.
Before requesting development, prepare as much of the following as possible:
- Finished product concept or artwork
- Desired finished size
- Target user skill level
- Target market
- Estimated order quantity
- Number of kit designs
- Preferred yarn or material direction
- Required tools and accessories
- Tutorial format
- Packaging direction
- Private-label requirements
- Target launch timing
If some elements are undecided, identify them clearly rather than guessing.
How UMY Approaches Private-Label Crochet Kit Development
UMY's role is not limited to producing one crochet component.
For suitable projects, the development process can connect:
Idea → Finished Sample → Yarn Selection → Components → Making Verification → Packaging → Private Label → Production → Retail
This is particularly useful for brands that need to coordinate the physical crochet product with the other materials inside a commercial kit.
Depending on the project, development discussions may include:
- Crochet product adaptation
- Yarn and color selection
- Sample refinement
- Kit component planning
- Packaging development
- Private-label elements
- Collection expansion
- Bulk-production organization
The exact specification, MOQ, packaging solution, and compliance requirements should be confirmed project by project.
Common Mistakes Brands Make When Developing Crochet Kits
Mistake 1: Choosing the Box Before Finalizing the Product
The sample changes, but the packaging has already been ordered.
Develop the core physical specification first.
Mistake 2: Calling a Difficult Project "Beginner-Friendly"
Skill positioning should match the real making experience.
Mistake 3: Calculating Yarn Too Tightly
A theoretical minimum is not necessarily a practical consumer allocation.
Mistake 4: Treating Instructions as Marketing Content
Instructions are part of product usability and should match the approved sample.
Mistake 5: Testing the Finished Sample but Not the Kit
Someone should review the full packaged experience.
Mistake 6: Ignoring Component-Level Quality Control
One missing needle or incorrect yarn color can make an otherwise good kit unusable.
Mistake 7: Developing Too Many SKUs at Once
Frequently Asked Questions
What should be included in a crochet kit?
There is no universal component list. A kit should contain the yarn, tools, accessories, instructions, and other materials required by the approved project specification, while clearly identifying anything the customer must provide separately.
What makes a crochet kit suitable for beginners?
Beginner suitability depends on the actual project: stitch variety, shaping, color changes, part size, assembly difficulty, instructions, and material organization all matter. The label should reflect the real user experience.
Can a brand create its own private-label crochet kit?
Yes. A custom kit can be developed around a brand's original product concept, artwork, collection theme, packaging, and approved private-label requirements. Third-party characters or intellectual property should only be used with appropriate authorization.
How long does crochet kit sampling take?
The crochet sample itself commonly takes around 7–15 days at UMY, depending on project complexity and circumstances. A complete retail kit may require additional coordination for instructions, accessories, packaging, revisions, and final approval.
What is the MOQ for a custom crochet kit?
There is no single MOQ that applies to every configuration. UMY's custom handmade crochet products are normally quoted around 500 pieces per design, with some simple production-suitable projects potentially evaluated from around 300 pieces. Packaging and other components can introduce their own production constraints.
Can the same kit structure be used for multiple designs?
Often, yes. Once a workable kit architecture is established, brands may adapt it across a series, provided yarn quantities, instructions, accessories, SKU identification, and other design-specific details are controlled separately.
Can a QR code be added for video instructions?
A brand can use QR-based tutorial access where its content and packaging setup support it. The linked content, hosting, approval, language, and long-term link management should be confirmed as part of the project.
Conclusion
Developing a private-label crochet kit is not a matter of putting craft supplies into an attractive box.
A commercially workable kit connects four systems:
the finished product, the making experience, the component specification, and the retail package.
Brands should start with the result customers are expected to make, define the intended skill level, validate the product with real materials, align instructions with the approved sample, and review the entire packaged kit before bulk production.
When these elements are developed together, a crochet kit can become more than a DIY product.
It can become a repeatable retail platform for new characters, seasonal concepts, gift programs, and complete branded collections.
For brands preparing a new crochet kit project, a useful first brief includes the product concept, finished size, target skill level, estimated quantity, target market, tutorial approach, and packaging direction. From there, UMY can evaluate the appropriate sampling and product-development path.
 Chinese