Many beginners feel confused when they see “sl” in a pattern because it looks too simple to matter, yet it controls so much of the project.
“sl” in crochet means slip stitch, the shortest and simplest stitch used to join rounds, move your yarn, and create clean transitions without adding height.
I remember the first time I followed a pattern and saw “sl st.” I had no idea why such a tiny stitch mattered so much, but later I learned it holds entire projects together.
Why is the slip stitch important?
I used to skip slip stitches when I first learned because they felt optional, but it always ruined my project shape.
Slip stitches are important because they let you join rounds neatly, move across stitches without height, and create smooth edges in any crochet project.
How the slip stitch works in a project
When I explain slip stitches to beginners, I break the concept into three simple ideas so they can see how powerful this tiny stitch is:
| Function | What It Does | Why It Matters |
|---|---|---|
| Joining rounds | Connects the last stitch to the first stitch | Creates a clean circle for amigurumi or hats |
| Moving without height | Lets you shift your hook sideways | Keeps stitch counts accurate |
| Smoothing edges | Creates flat, polished borders | Makes projects look professional |
Slip stitches show up in almost every project, from baby toys to blankets. When beginners use UMY’s kits, they learn this stitch early because it sets the foundation for reading patterns and shaping designs. A strong understanding of slip stitches makes everything easier later.
How do you make a slip stitch?
I remember practicing slip stitches over and over because I wanted my rounds to sit perfectly flat.
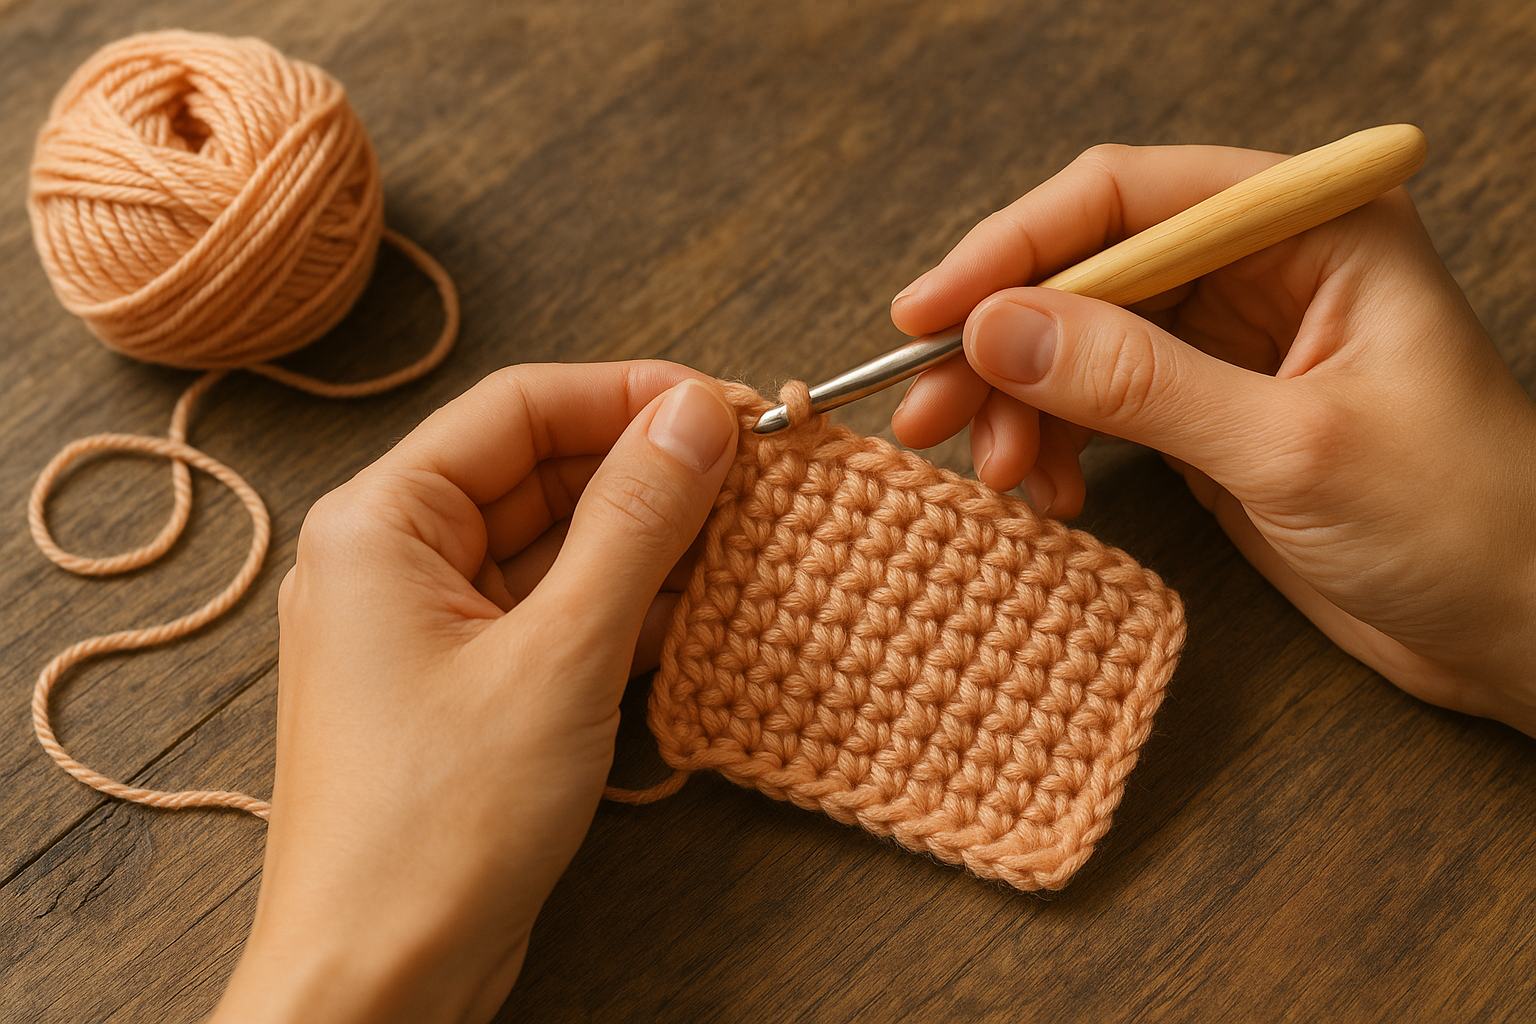
To make a slip stitch, insert your hook into the stitch, yarn over, pull up a loop, and pull that loop through the loop already on your hook.
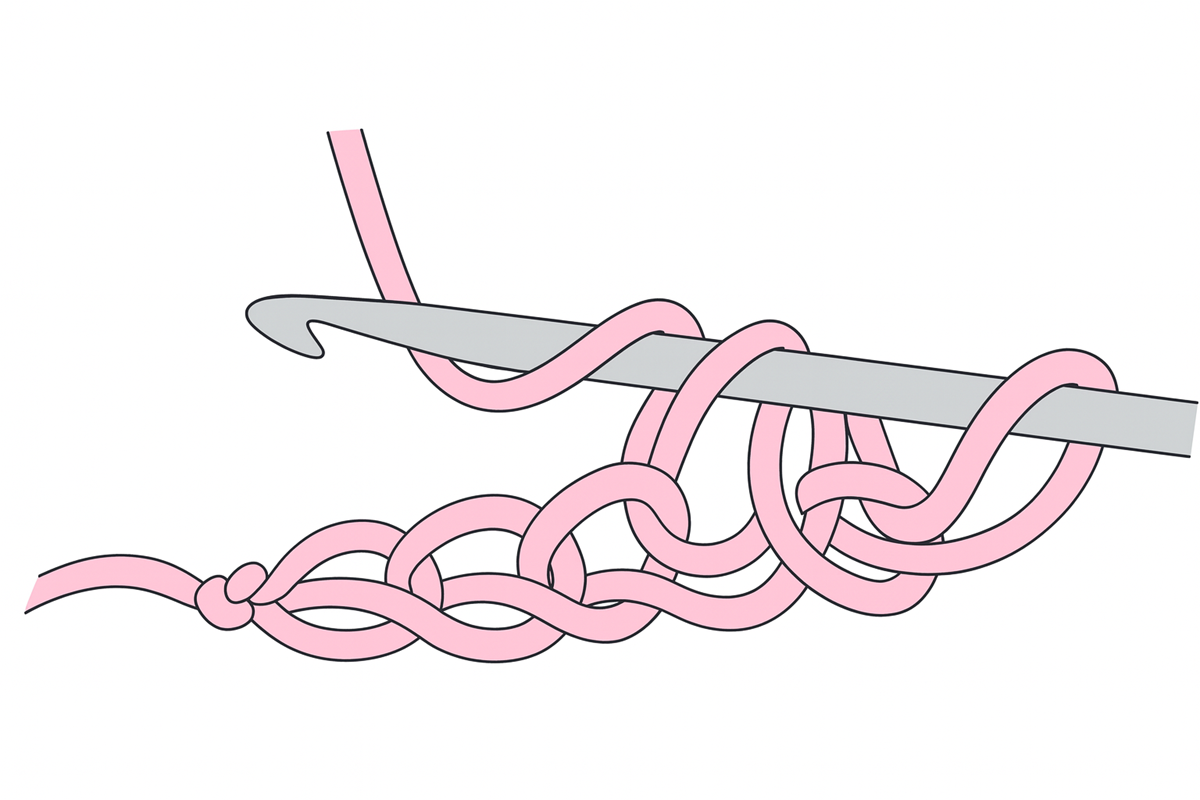
A closer look at the steps that matter
Beginners often struggle because they pull the stitch too tight, so I teach them to slow down and follow these steps:
| Step | What You Do | Tip |
|---|---|---|
| 1 | Insert hook into the stitch | Make sure the stitch is not twisted |
| 2 | Yarn over once | Keep tension relaxed |
| 3 | Pull the yarn through the stitch | You now have two loops |
| 4 | Pull that new loop through your original loop | This completes the slip stitch |
Learning the slip stitch builds confidence. It helps you join rounds without gaps and move around your work cleanly. In UMY’s beginner-friendly kits, we include clear diagrams and video lessons because once someone understands this stitch, reading patterns becomes far less stressful.
Where do beginners use slip stitches first?
I noticed that beginners often learn slip stitches before they even realize they are doing it.
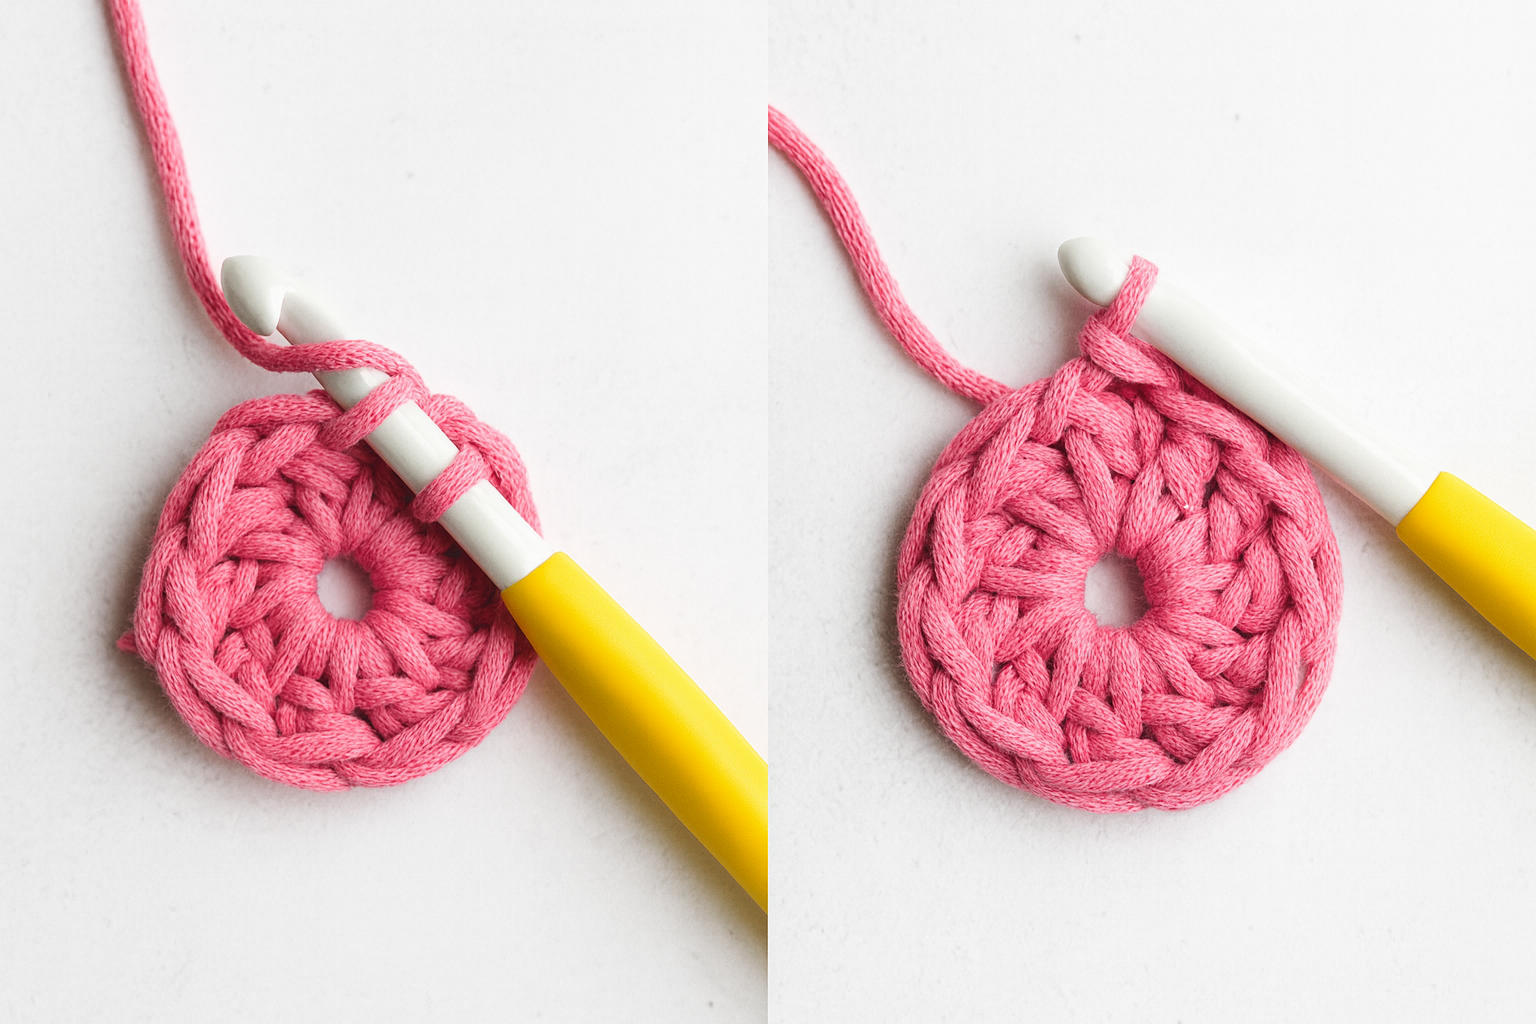
Beginners use slip stitches in magic rings, amigurumi joins, edging, and any project where a smooth, invisible connection is needed.
Slip stitch use cases that appear in early projects
When I coach new makers, I show them how many places slip stitches appear. This helps them see the value instead of treating it like a throwaway stitch:
| Project Type | How Slip Stitch Is Used | Why It Helps |
|---|---|---|
| Amigurumi | Joins the round neatly | Creates polished toy shapes |
| Baby rattles | Anchors parts and edges | Ensures safe construction |
| Granny squares | Joins rounds or motifs | Aligns corners cleanly |
| Edging and borders | Creates flat outlines | Makes projects look finished |
Once beginners understand these use cases, they stop feeling intimidated and start seeing slip stitches as one of the easiest ways to make their work look clean. UMY’s kits help with this because every early project introduces slip stitches in a simple, friendly way.
Conclusion
Slip stitches are simple but powerful, and learning them early makes every crochet project smoother and easier.