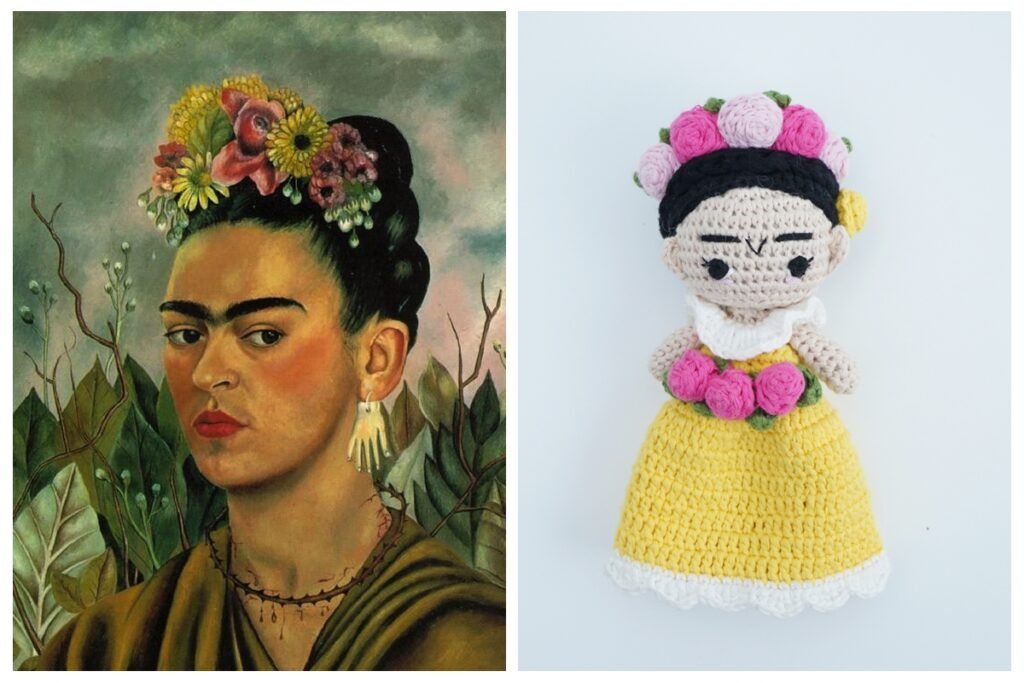
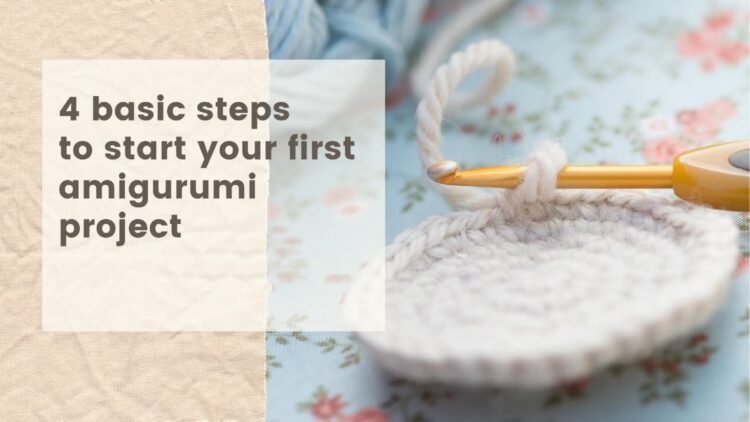
You probably are reading this article because you want to start your first amigurumi project. Maybe you`ve even found a beginner (easy) skill level pattern, however, you have no idea what are all these stitches mentioned in the pattern and how should you know how to work these?
Don`t worry. Let`s take it slowly from the beginning.
In this post you will find:
- An explanation of amigurumi basic stitches + links to photo tutorials
- Suggested patterns for an amigurumi beginner
So let`s start. In a beginner level amigurumi pattern there are most probably all of the following stitches and techniques needed:
MAGIC RING
Every piece in amigurumi begins with a magic ring (also called adjustable loop). You start the head with it, the body, both legs, both arms etc. You need this stitch to begin every piece you make, so you better learn it well.
It`s not the only possible method for starting an amigurumi piece, but it`s definitely the best and nicest looking one.
Magic ring tutorial

SINGLE CROCHET
Single crochet is the very basic stitch in amigurumi which forms the surface. The simplest amigurumi toys are made using only single crochet.
In amigurumi, we crochet in the round. The first round of single crochet stitches are crocheted in the magic ring, every coming round is crocheted on top of the previous round.
We want the surface to be nice and even, that`s why it`s good to practice single crochet a lot to achieve the right tightness.
Single crochet tutorial

INCREASING STITCHES
To make the piece wider you need to increase the number of stitches on your work. This means you`ll work more stitches in every round. You need to increase until your piece is wide enough.
An example:
In the first round, we normally start with 6 single crochet. In the second round, we work 2 single crochet stitches in every stitch of the previous round, so we get 12 stitches in total. This means we have increased by 6 stitches.

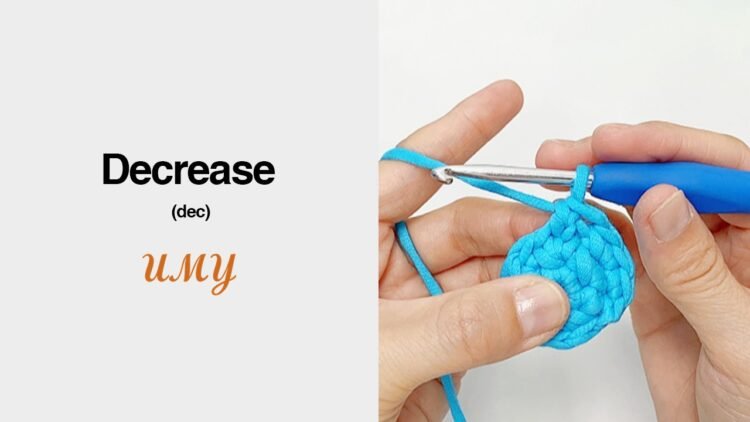
DECREASING STITCHES
To make the piece narrower we need to decrease the number of stitches. This means we will crochet stitches together to have fewer stitches at the end of the round.
An example:
Let`s say we have 18 stitches but we want to have only 12 stitches in the next round. This means we have to decrease every third stitch. For that, we work one single crochet stitch as we normally would, and then we crochet the next 2 stitches together (= decrease). We will repeat this the entire round.
In the tutorial, I will teach you 2 different ways to decrease – regular decrease and an invisible decrease which I highly recommend in amigurumi. Just as the name indicates, it`s a very delicate way of decreasing stitches without harming the crochet surface. This will push you instantly to the amigurumi PRO level.
Invisible decrease tutorial
FASTEN OFF
When you come to the end of an amigurumi piece, the pattern normally says to Fasten off or Finish off. How should you do this? In my tutorial, I will show you a special trick to do at the end of the piece. It will give you the neatest finish, leaving a long yarn tail and an even edge to start sewing the pieces together.
Neat finish tutorial

Make it even easier for yourself and learn from the video! Don`t forget to take a ball of yarn and crochet hook with you 🙂