
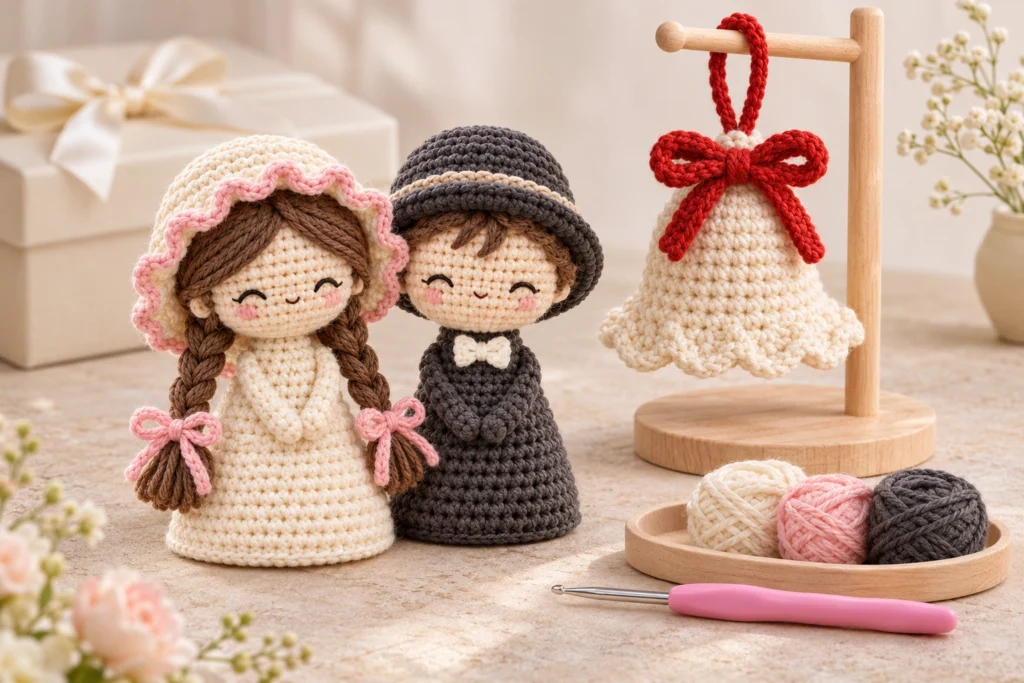
Develop crochet wedding bell ornaments by defining the bell silhouette, lower opening, hanging position and finished presentation before adding character details or personalized packaging. Review the complete suspended sample so the ornament reads clearly as a bell and hangs in the intended orientation.
For wedding gift brands, event merchandise developers and gift retailers, the product brief should also specify whether the ornament is sold individually, as a coordinated pair or as a DIY kit. Each format creates different requirements for construction, instructions and packing.
This guide focuses on decorative crochet bell ornaments. A bell-shaped product does not automatically produce sound; any sound-making component requires a separate development brief and evaluation.
Define the Product Format and Wedding Use
Start with how the ornament will be displayed and purchased.
A wedding bell ornament might be:
- An individual guest favor.
- A coordinated bride-and-groom pair.
- A hanging decoration for a wedding display.
- A keepsake presented in a gift box.
- A project supplied in a crochet kit.
These uses affect the hanging loop, product size, packaging and information needed by the buyer.
For example, a pair displayed together needs a clear relationship between the two ornaments. An individual favor needs a complete presentation on its own. A DIY kit must also account for the steps needed to produce the finished form.
Record the intended display point. Hanging from a small display hook, a ribbon or a decorative branch creates different clearance and positioning questions.
Make the Bell Shape Clear Before Adding Decoration
A bell ornament should retain a recognizable outline when viewed at its intended display distance.
Define the relationship between:
- The upper body.
- The widening lower section.
- The lower rim.
- The opening or closed underside.
- Any head, hat, veil or other character feature.
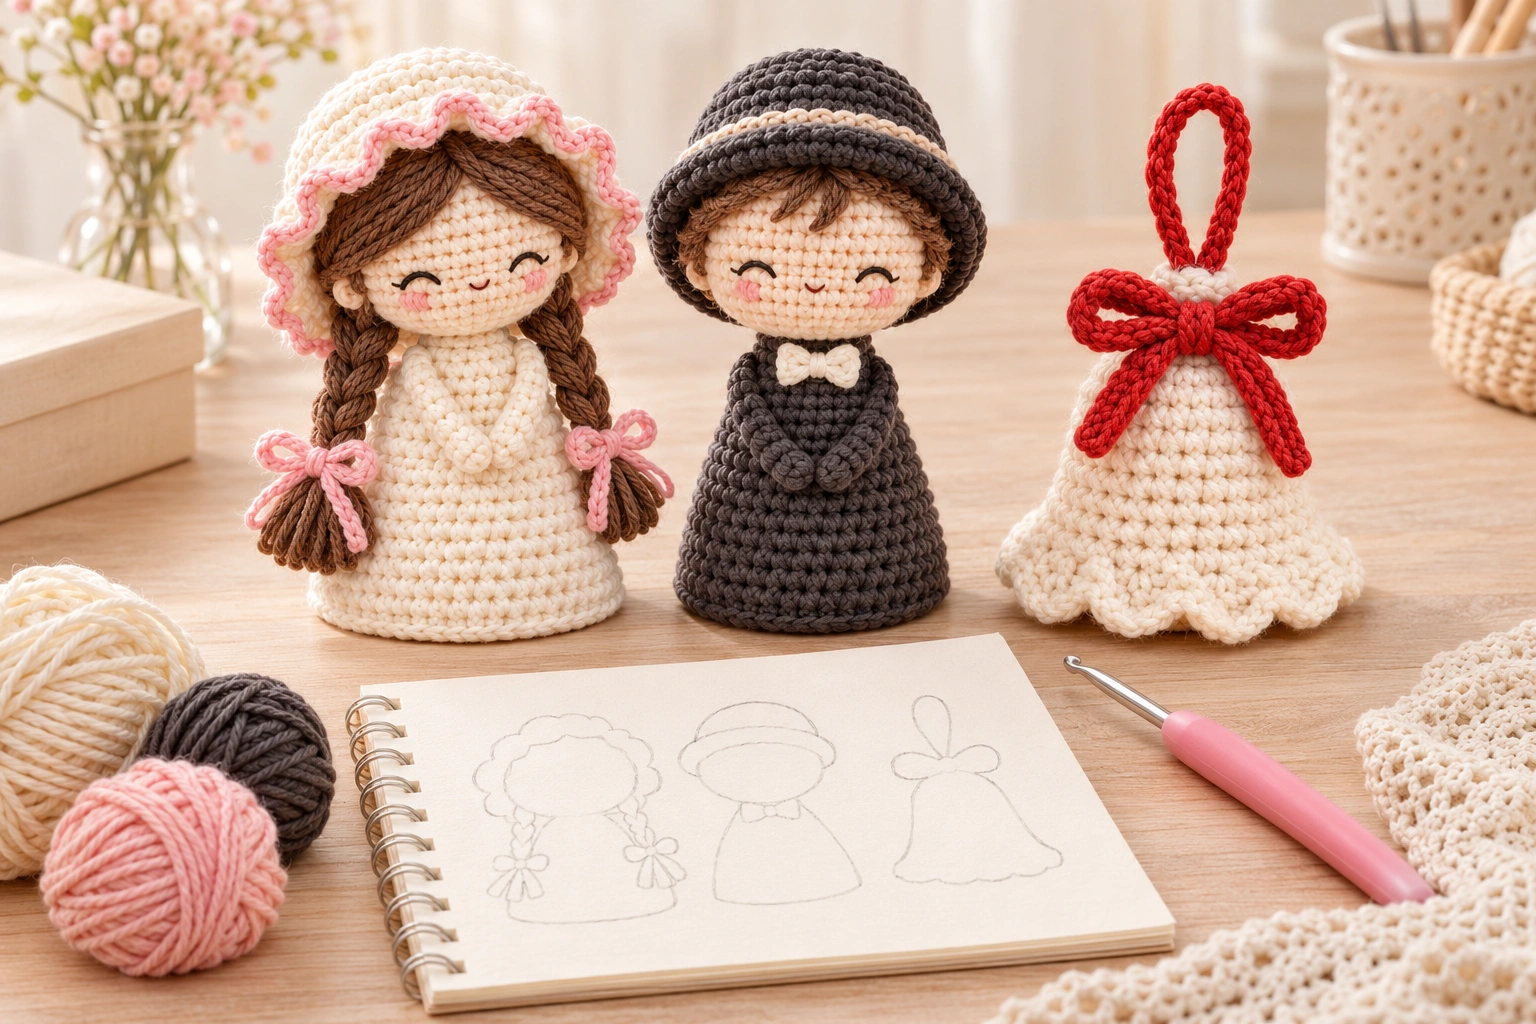
For a character-based design, review whether the body still reads as a bell. A rounded stuffed body with a head may read primarily as a doll unless the lower shape and rim are intentionally developed.
Use front and side references to communicate the desired outline. Identify which features must remain visible after clothing, hair or a veil is added.
Avoid approving the silhouette from a single styled photograph. Review the physical sample from several angles without relying on props to explain its shape.
Specify the Lower Opening and Filling Boundary
The underside is a product decision, not an incidental finishing detail.
An open bell shape, a closed bell-shaped body and a filled character ornament are different constructions. State which result the project requires.
| Construction decision | What the brief should define | What to review in the sample |
|---|---|---|
| Open or closed underside | Whether the lower cavity must remain visible | Appearance from below and at the intended hanging height |
| Filling boundary | Which areas contain filling and how it is enclosed | Whether filling remains contained without obstructing the intended opening |
| Lower rim | Desired outline, depth and appearance | Shape around the complete circumference |
| Internal feature | Whether any decorative element is visible inside | Placement, visibility and attachment |
| Resting presentation | Whether the ornament must also stand or sit for display | The actual supported position and effect on the rim |
| Recovery after packing | Permitted adjustment after unpacking | Whether the intended form can be restored using the agreed method |
Do not add a hidden insert, stiffener or internal attachment without recording it in the specification. Such changes can affect construction, material requirements and the finished appearance.
If the ornament is intended only for hanging, say so clearly. A sample that hangs well does not necessarily stand independently.
Treat the Hanging Loop as Part of the Complete Design
The loop connects the product to its display point and influences how the ornament faces the viewer.
Define:
- The loop material and color.
- Its finished length and opening.
- Its attachment location.
- Whether it is fixed or adjustable.
- The intended display support.
- Whether it remains visible in the retail presentation.
For a character ornament, a loop placed through a hat, hair or head covering must be developed with that structure in mind. The visible top of the product should remain consistent with the approved design.
Review the entire attachment path. Appearance alone does not establish attachment performance; agree on the evaluation appropriate to the intended product and use.
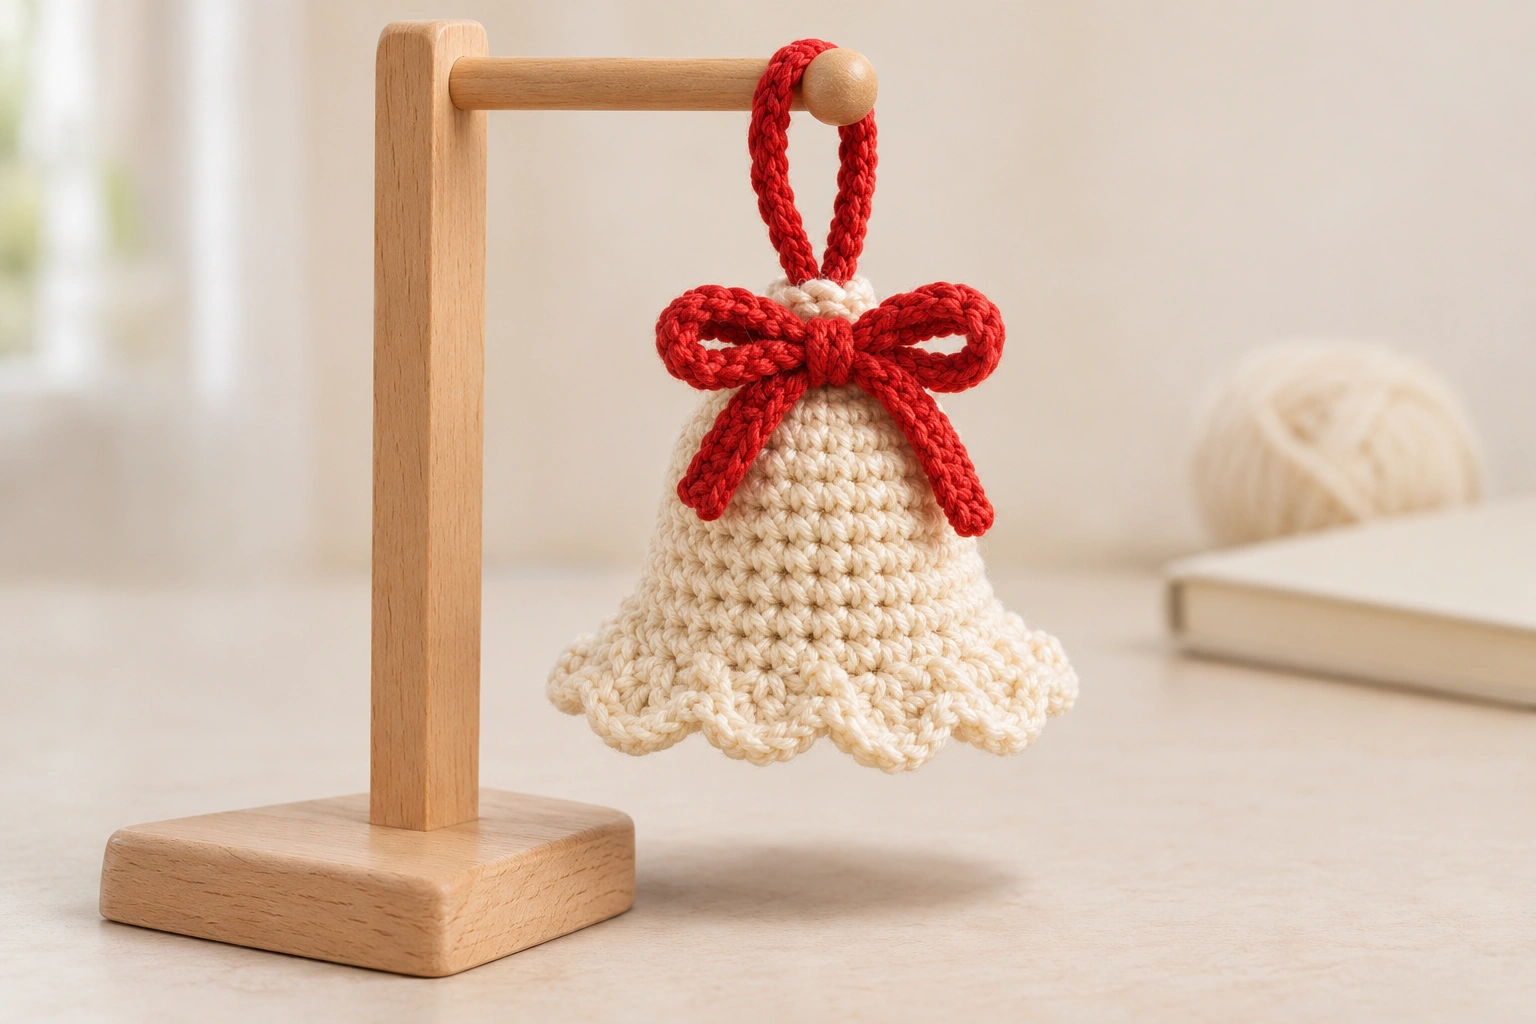
Review the Ornament While It Is Hanging Freely
Hold the sample by its actual loop and allow it to settle naturally.
Observe:
- Which direction the face or front turns.
- Whether the body tilts.
- Whether the lower rim remains visible.
- Whether hair, a veil or an accessory shifts across the face.
- Whether the loop presses into or distorts the upper shape.
- Whether the ornament clears the proposed display support.
A photograph taken while someone holds the body in position can hide these issues.
If the ornament rotates or tilts away from the intended view, review the attachment position and distribution of the product’s components. Evaluate the revised physical sample before approving the adjustment.
Coordinate a Pair Without Forcing Identical Construction
A bride-and-groom pair should look related, but the two products may require different construction details.
Review the pair against shared visual references:
- Overall display scale.
- Head and body relationships.
- Lower rim position.
- Color palette.
- Facial expression style.
- Loop appearance.
- Spacing when displayed together.
A veil, hood or hat can change the visible height and hanging behavior. Define whether the pair should align at the top, at the lower rim or by another visual reference.
Evaluate both products individually and together. Each should remain understandable when removed from the pair, especially if the buyer may sell or gift them separately.
Do not assume that one approved loop position or construction method works for both designs.
Keep Character Details Consistent With the Making Format
For finished ornaments, decorative details should be assessed against the desired appearance, production method and purchasing budget.
For DIY kits, review each detail as a making task.
Hair, layered garments, small accessories and extended veils can introduce additional shaping, attachment or finishing steps. A small product is not automatically a simple project.
Ask:
- Which details establish the wedding character?
- Which details are optional?
- Can the intended user identify the attachment positions?
- Does the construction require techniques beyond the stated starting skill?
- Can the tutorial show each critical step clearly?
- Does the supplied material support the required finish?
For a kit version, use a separate process to validate the crochet instructions before retail launch.
Develop Packaging Around the Approved Hanging Form
Review the ornament and its packaging together.
The proposed arrangement should account for:
- Protection of the lower rim.
- Placement of the hanging loop.
- Space for hats, hair and veils.
- Separation between paired ornaments.
- Removal without catching accessories.
- Identification of the intended display method.
Decide whether the buyer or recipient is expected to adjust the ornament after unpacking. Document any permitted adjustment and check that the product information explains it clearly.
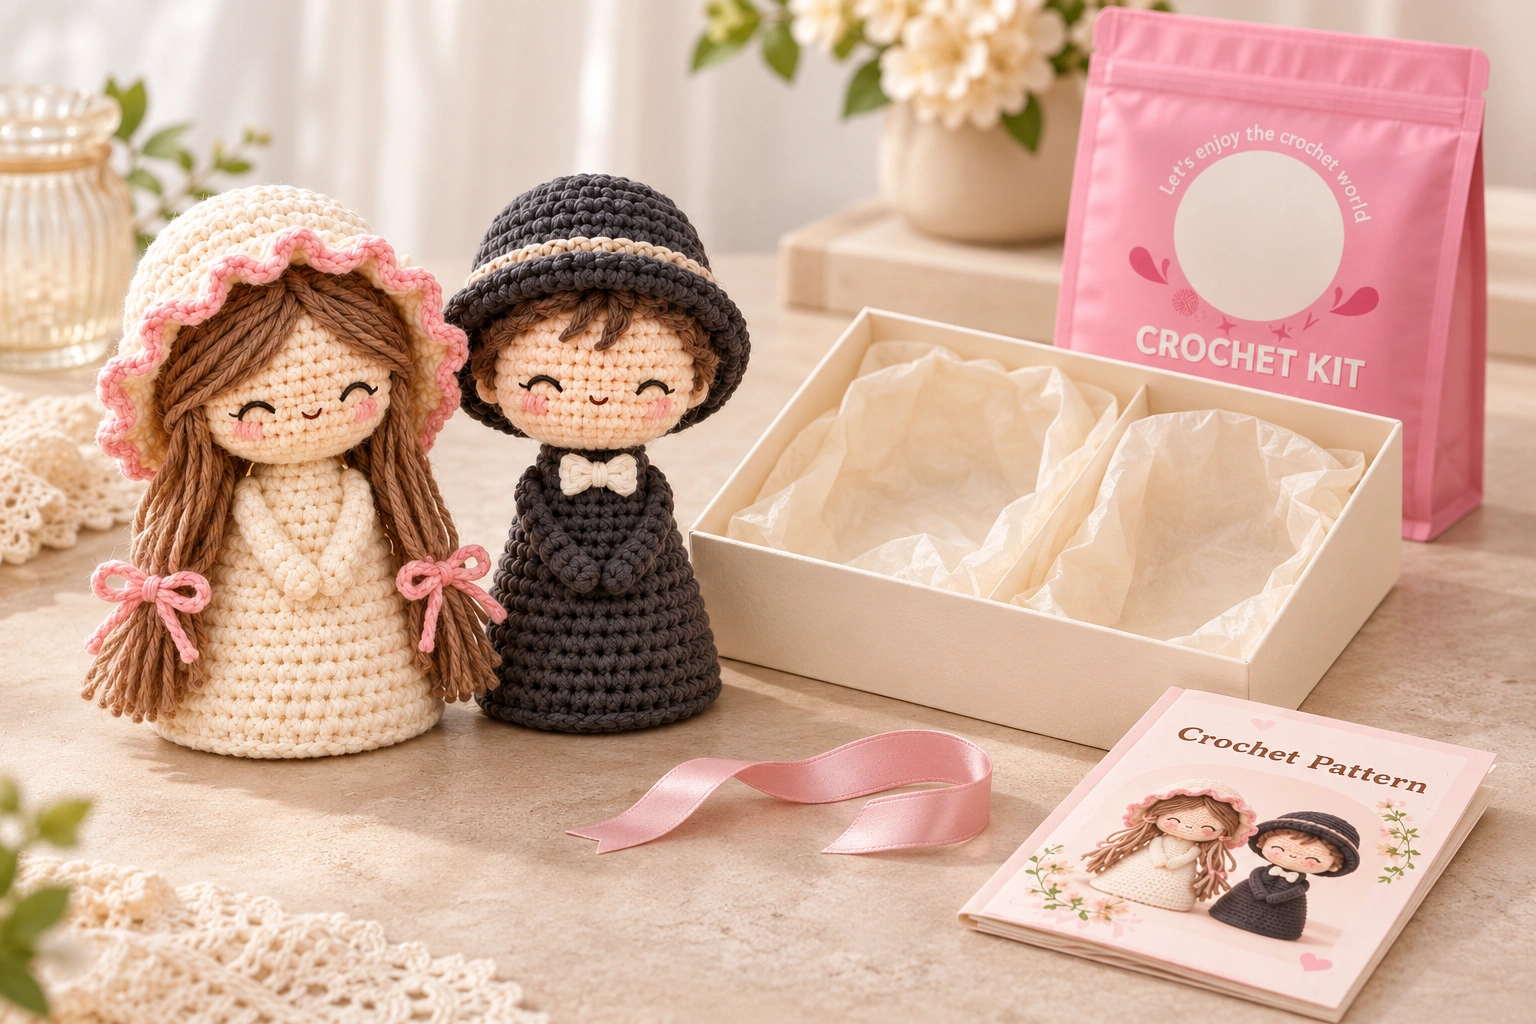
If a gift card, ribbon or display support appears in the presentation, identify whether it is included in the sale configuration.
Packaging concepts should be physically reviewed. A visually attractive box does not establish that the ornament will arrive in its intended condition.
See How to Validate Protective Packaging for Crochet Products Before Shipment for a separate packaging review framework.
Establish Clear Sample Approval Records
Keep the approved product, packaging configuration and unresolved questions connected to the same version.
A useful review record includes:
- Front, side, underside and hanging views.
- Defined measurement points.
- Material and color references.
- Opening and filling details.
- Loop specification and attachment location.
- Pair alignment requirements.
- Included packaging components.
- Agreed evaluation methods and observations.
- Outstanding revisions and approval responsibility.
Separate visual approval from other required evaluations. Approval of the face, clothing or color should not be treated as approval of the complete attachment or packing arrangement.
For the broader approval process, see What Should Buyers Approve in a Crochet Pre-Production Sample?.
Developing a Wedding Ornament Brief With UMY Crochet
For a crochet wedding bell project, a practical development discussion starts with the intended product format, bell outline, display method and character references. These inputs provide the basis for assessing construction options, sampling scope and packaging requirements.
For a paired collection, define the relationship between the ornaments before finalizing individual details. For a kit, include the intended user and tutorial requirements from the start.
Frequently Asked Questions
Does a crochet wedding bell ornament need to make a sound?
No. Bell-shaped decoration and sound-making function are separate requirements. Specify whether sound is part of the project.
Should the underside be open?
That depends on the intended design. An open cavity, closed underside and filled character body should be evaluated as different constructions.
Where should the hanging loop be attached?
Determine the position through complete sample review. Consider the upper structure, component placement and natural hanging orientation.
Can the same ornament stand on a table and hang from a loop?
Possibly, but both presentations require evaluation. A hanging sample does not establish that it can stand independently.
Must a bride-and-groom pair be exactly the same height?
No. Define the intended visual relationship, including hats, hair and veils, and review the pair against that reference.
Is a small wedding ornament suitable for a beginner crochet kit?
Size alone does not establish difficulty. Assess the shaping, color changes, sewing, finishing and instructions through complete making trials.
Request a Crochet Wedding Bell Development Review
Share your front and side design references, intended size, open or closed underside preference, display method and sales format with UMY Crochet.
For a paired design, include the desired relationship between the two ornaments. For a DIY kit, add the intended user level and essential character details. Request a review of silhouette, construction, hanging orientation and packaging before confirming the sampling brief.
<!--[googlesitekit-end-of-content]-->
 Chinese